
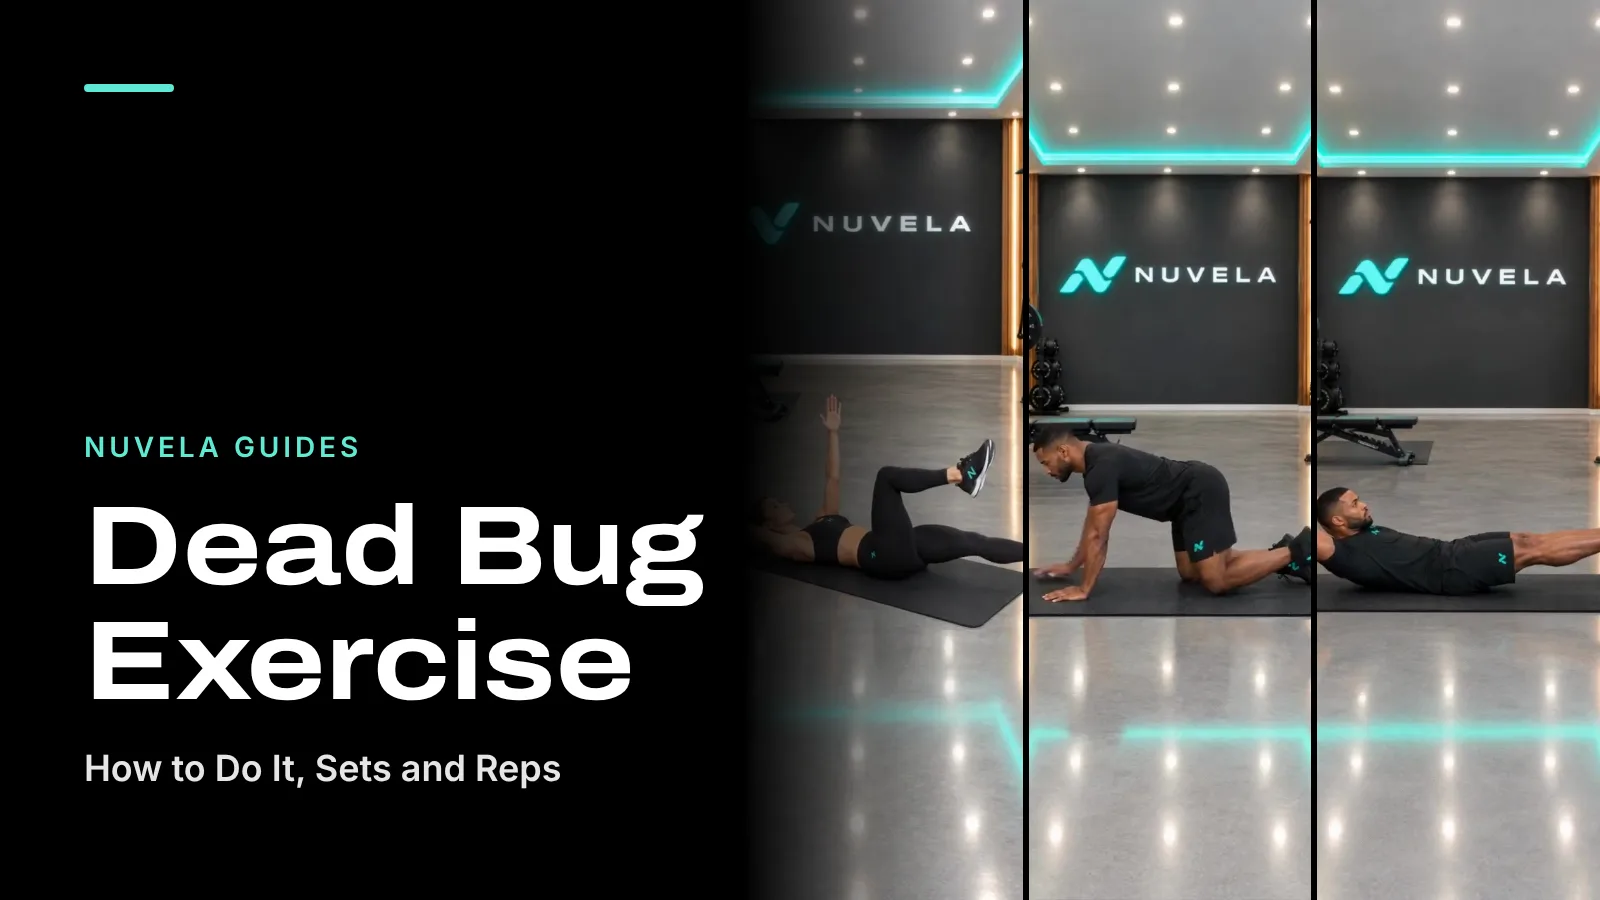
The dead bug is a slow core move on your back: arms up, knees over your hips, and you lower one arm and the opposite leg while your lower back stays pressed to the floor. Three sets of 8 per side, two or three times a week, is the standard dose. It fits best in a warm-up or as a short finisher.
Get core work placed in your week. Answer a few questions and build your week: Nuvela picks the moves, sets and reps, and you can swap any move. Get Nuvela on Google Play.
Start here
Classic dead bug
Opposite arm and leg, 3 × 8 each side.
Too hard?
Heel taps
Arms stay up, one bent leg taps down, 2 × 8 each side.
Too easy?
Dumbbell dead bug
Hold a 5–10 lb (2–5 kg) dumbbell, legs move, 3 × 8 each side.
When
Warm-up or finisher
2–3 days a week, about 8 minutes.
The plan
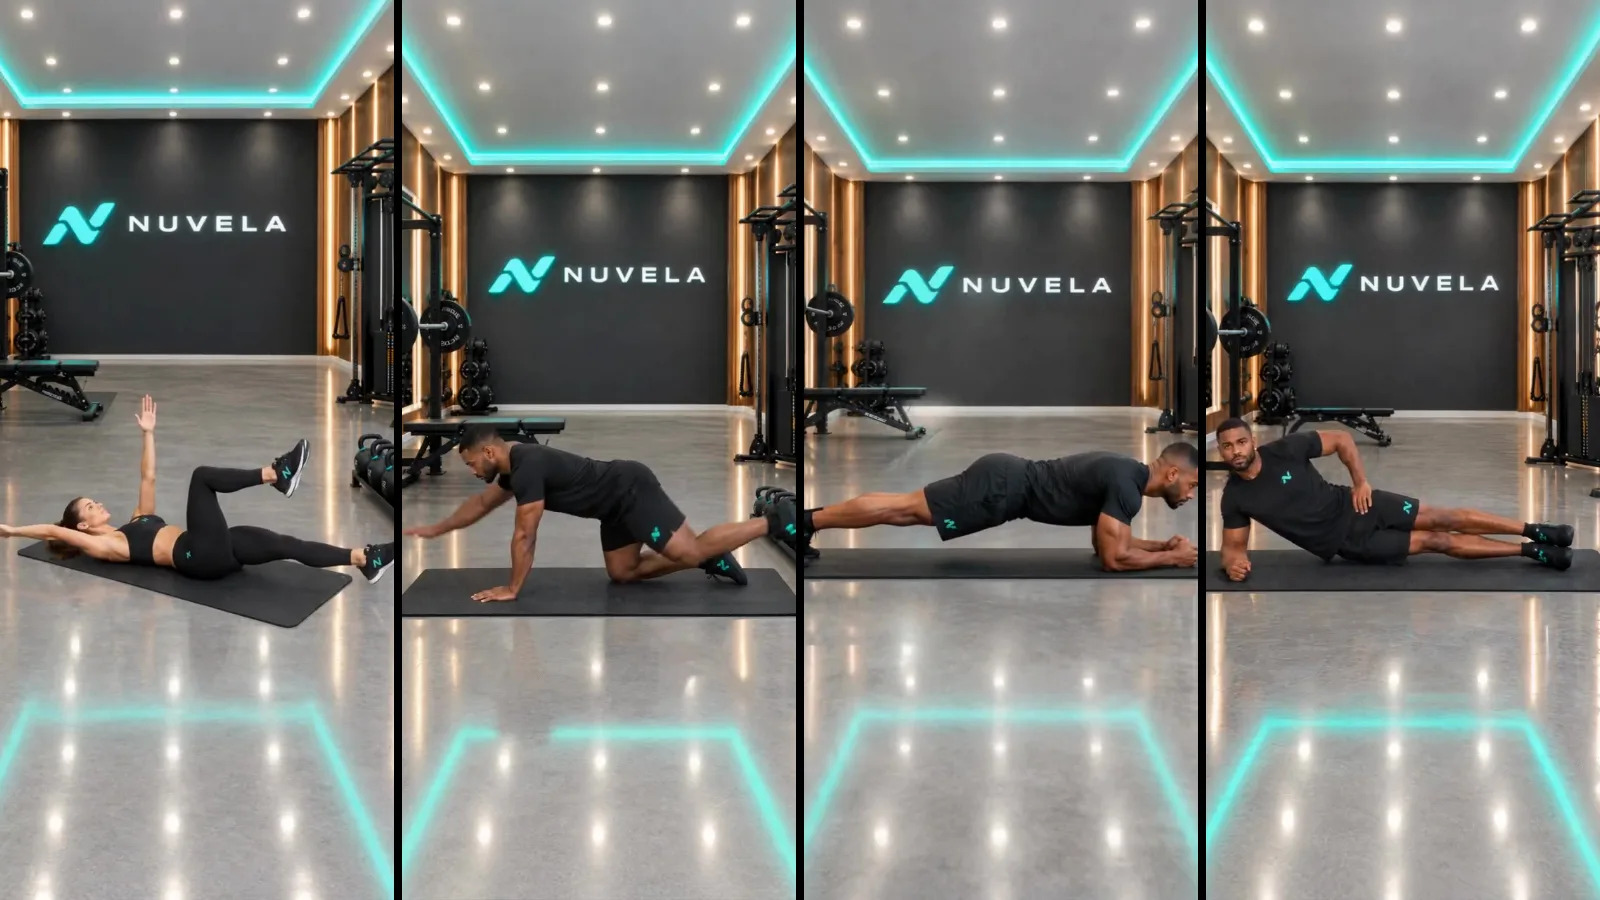
Do 3 sets of 8 reps per side, 2 to 3 days a week, in your warm-up or at the end of a lifting session. One rep is a slow reach with the opposite arm and leg, then back. Pair it with a bird dog and a side plank for a short core block.
| # | Exercise | Sets × reps | Tempo | Rest |
|---|---|---|---|---|
| 1 | Dead bug (opposite arm and leg) | 3 × 8 each side | 3 s out, 1 s pause, 2 s back | 45 s |
| 2 | Bird dog | 2 × 8 each side | 2 s hold at the top | 45 s |
| 3 | Side plank | 2 × 20–30 s each side | Hold | 45 s |
| 4 (gym, optional) | Pallof press | 2 × 10 each side | 2 s hold, arms out | 45 s |
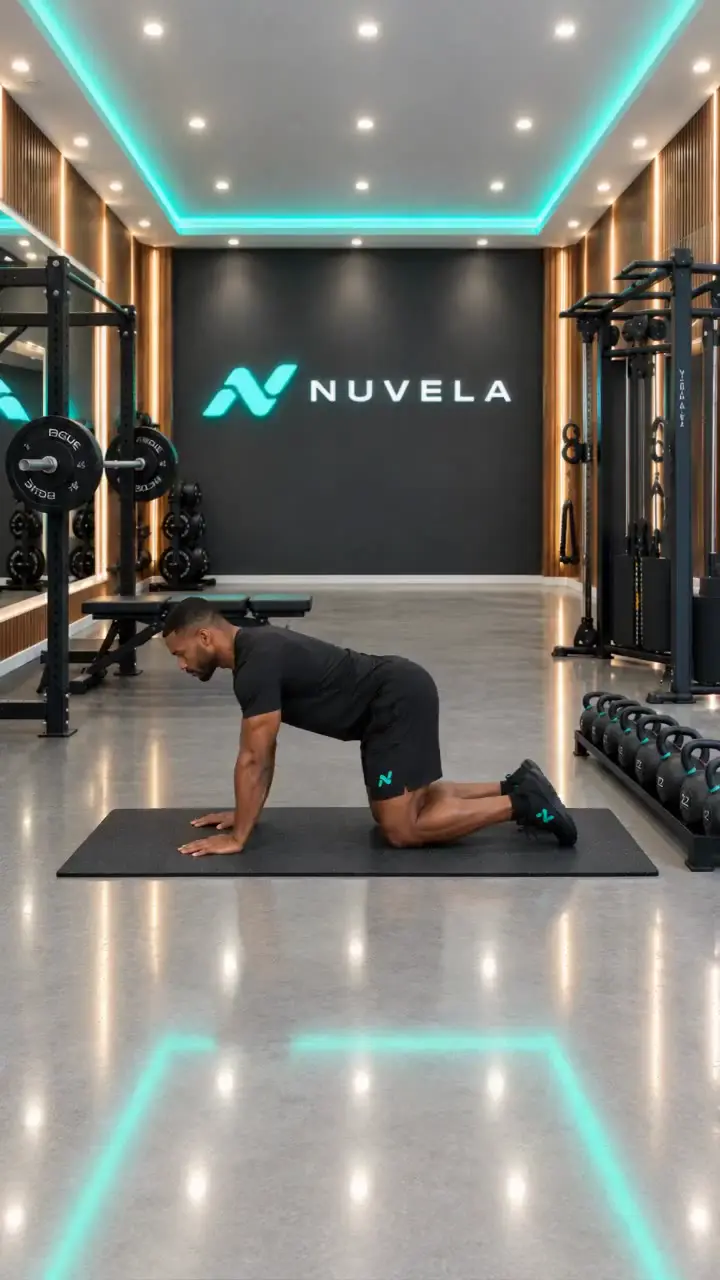
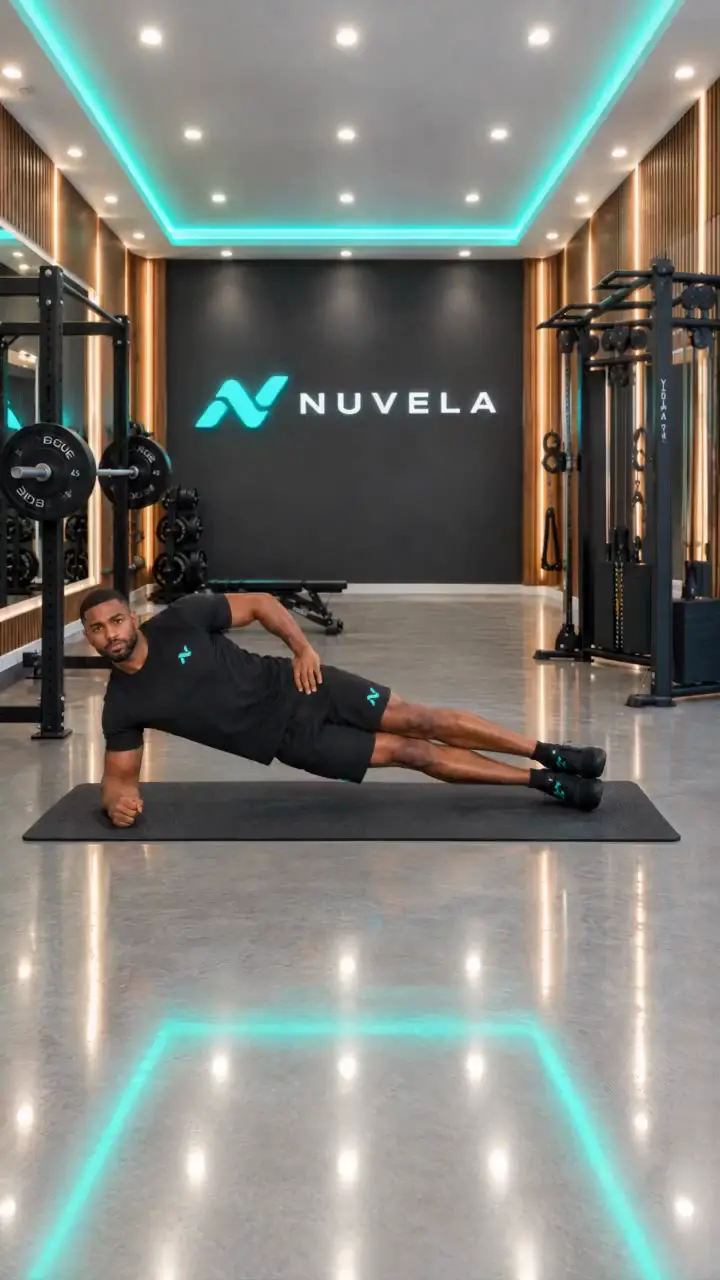
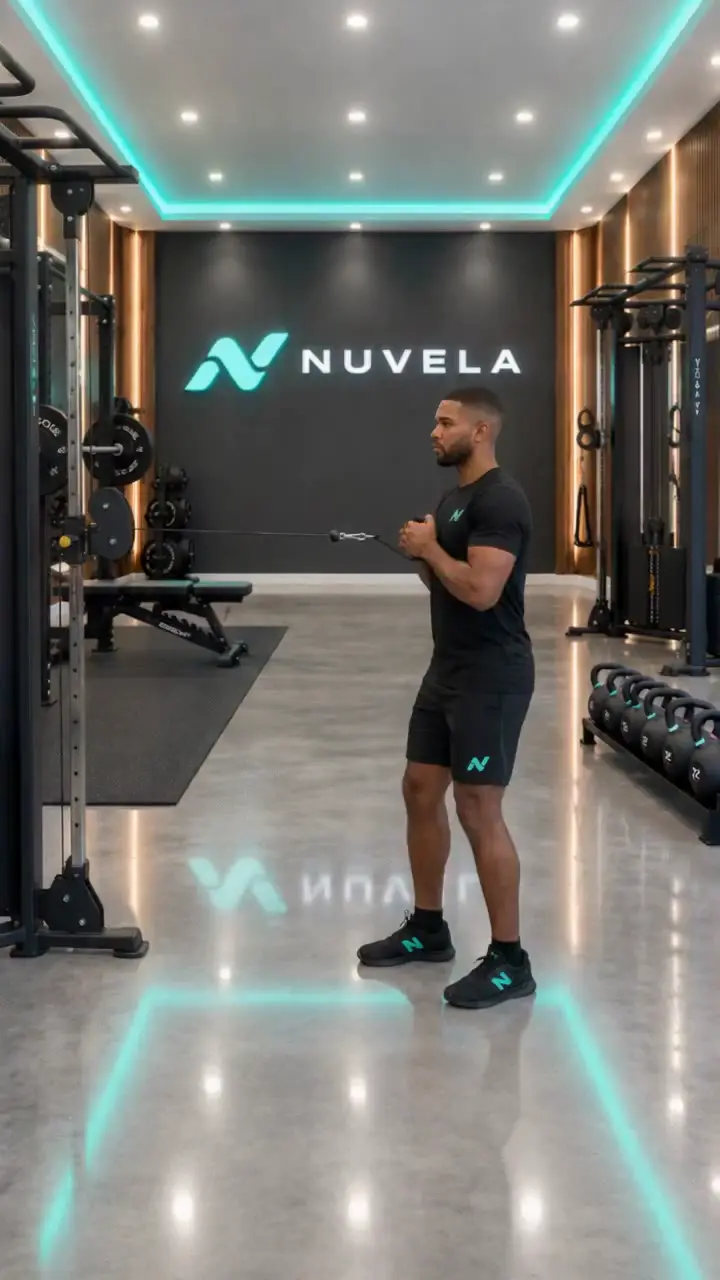
The block takes about 8 minutes, or 10 with the Pallof press. The dead bug and the bird dog split the job: a 2001 EMG study found the dead bug works mostly your abs and obliques, while the bird dog leans more on your back and hips. The side plank and the Pallof press add the sides of your trunk.
Get this week built for your gym.
Plan your workout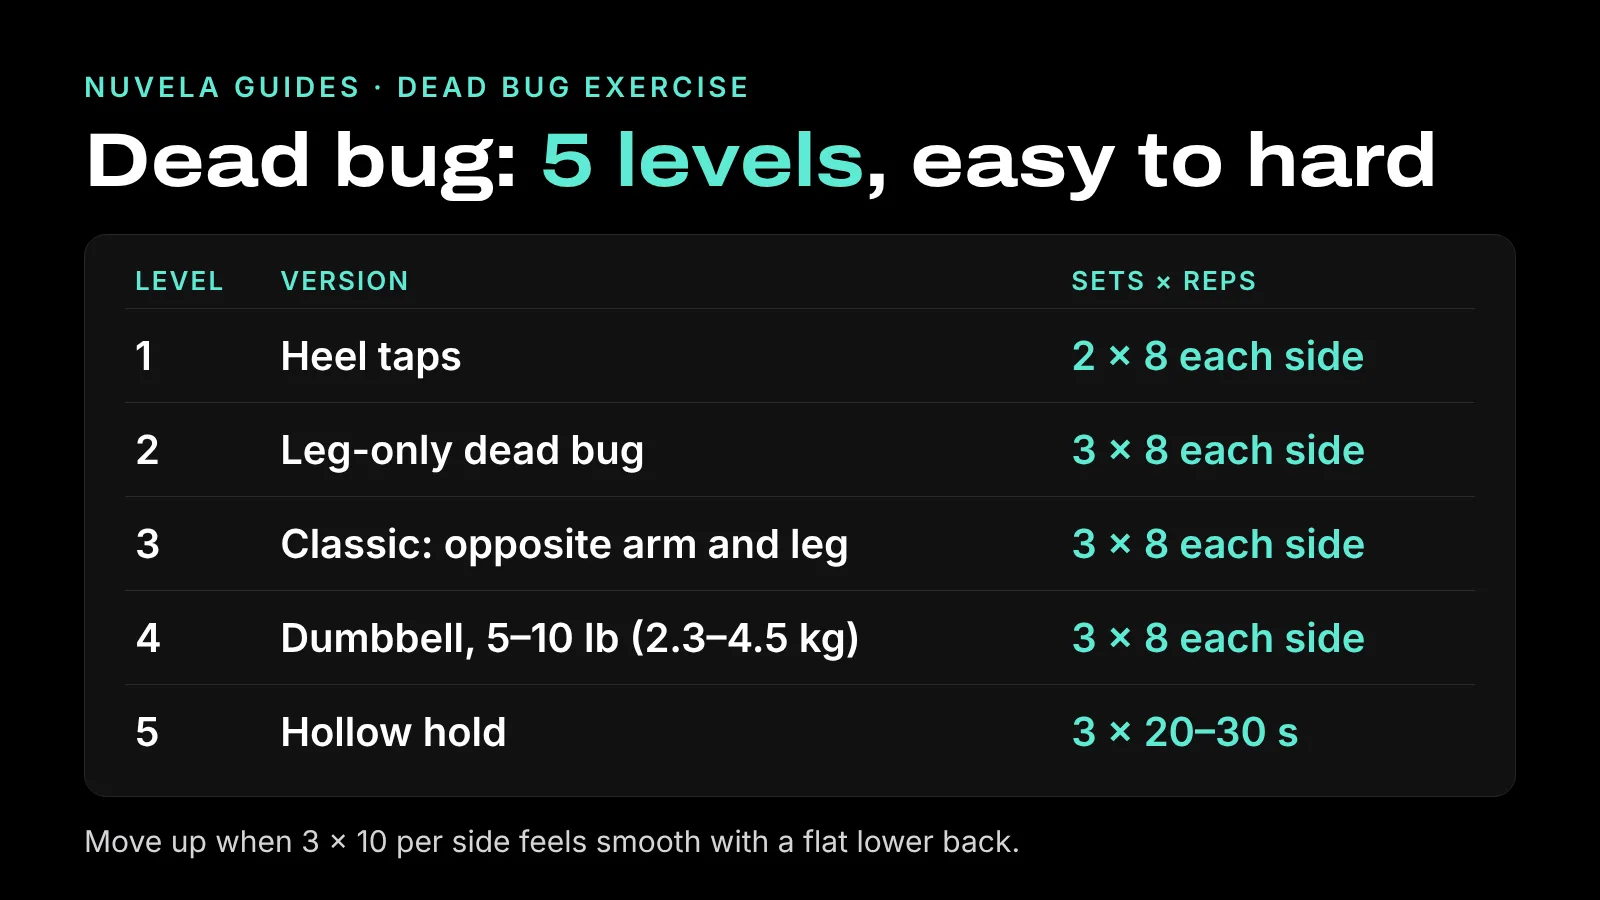
How to pick the weight: holds and levels
Pick the level, not the load, first. Choose the level where your back stays flat on every rep and the last 2 reps per side feel hard.
- Add reps first: 8, then 10, then 12 per side. At 3 × 12, move up a level.
- Slow down before you add weight. A 5-second reach makes level 3 much harder with no gear.
- Weight at level 4: start with a 5 lb (2 kg) dumbbell or plate. Go to 10 lb (5 kg) only when 3 × 10 per side is smooth.
- No failure needed. The 2026 ACSM guidelines found training to failure did not consistently change results. Stop the set if form breaks.
| If your last set felt | And your back | Next session |
|---|---|---|
| Easy, 3 or more reps left | Stayed flat | Add 2 reps per side, or slow the reach to 5 s |
| Hard, 1–2 reps left | Stayed flat | Same level and reps |
| Hard | Lifted on the last reps | Same level, stop each set 2 reps earlier |
| Shaky from the first rep | Lifted early | Go down one level |
Swaps for the dead bug
Keep the same sets; swap the move when floor space, gear or comfort says so.
| If you can't do | Swap to | Sets × reps |
|---|---|---|
| Dead bug (no floor space) | Plank | 3 × 20–40 s |
| Dead bug (lying down doesn't feel right) | Bird dog | 3 × 8 each side |
| Level 1 heel taps | Heel taps with a smaller range | 2 × 6 each side |
| Dumbbell dead bug (no dumbbell) | Hold a water bottle or a 2.5 lb (1 kg) plate | 3 × 8 each side |
| Pallof press (no cable or band) | Suitcase carry with one dumbbell | 2 × 30 s each side |
Good
- Dead bug: the floor supports your back, so form is easy to check
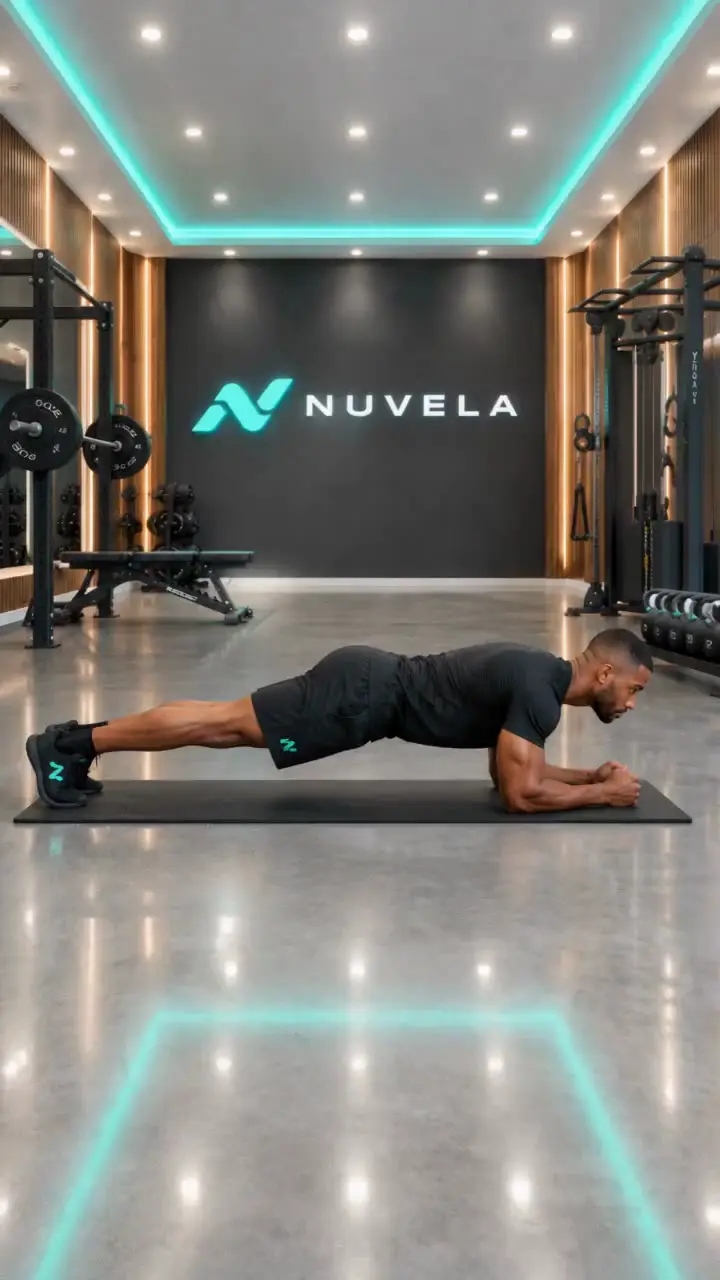
- Plank: no setup, works anywhere
Keep in mind
- Dead bug: needs floor space and a mat
- Plank: harder to tell when your hips sag
If a move doesn't feel right, use the swap. If it still doesn't feel right, check with a doctor before you keep training it.
How to do the dead bug
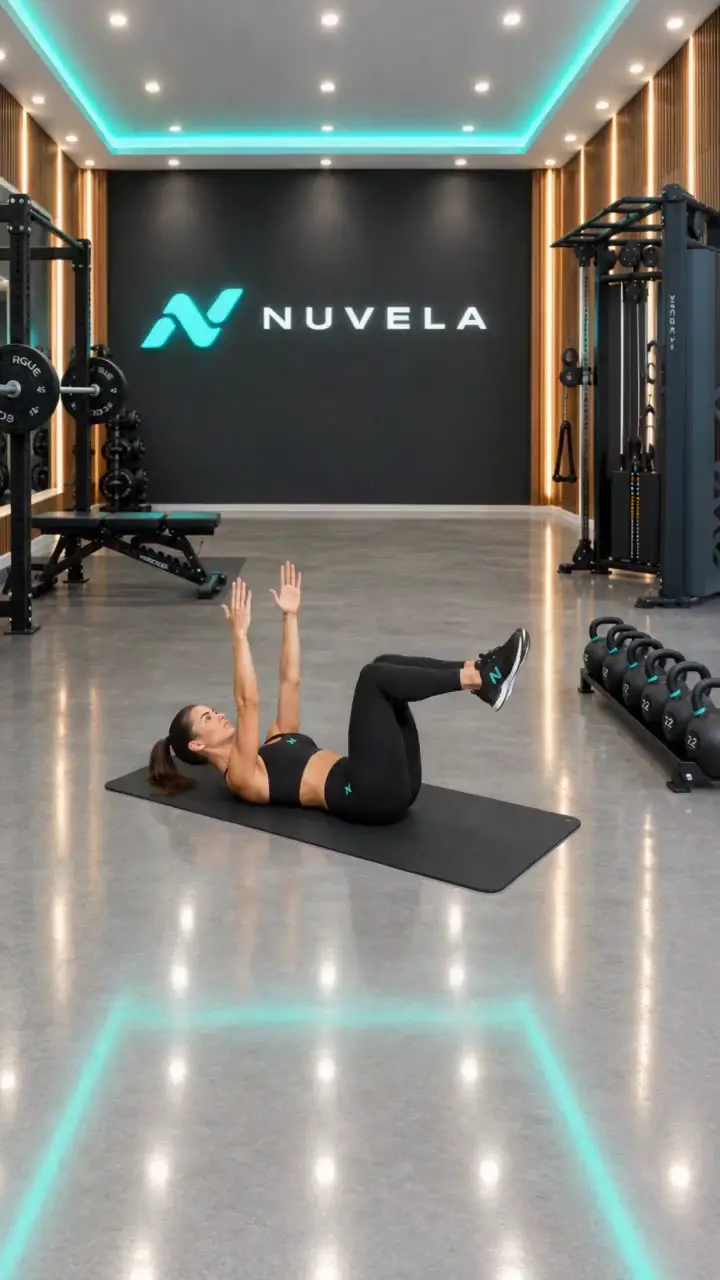
- Set up. Lie on your back. Raise your arms straight over your shoulders. Lift your knees over your hips, bent to 90 degrees.
- Flatten. Press your lower back gently into the floor. A hand should not slide under it.
- Reach. Exhale slowly as your right arm goes back behind your head and your left leg straightens toward the floor. Stop with the heel 2 to 3 inches (5 to 8 cm) above it.
- Return. Bring both back to the start, then do the other side. Each side counts as one rep.
- Stay slow. Count three seconds out, pause, two seconds back.
A quick form check before your first set
| Check | How to test it | Good sign |
|---|---|---|
| Back flat | Slide a hand under your lower back | It doesn't fit |
| Ribs down | Put a hand on your lower ribs | They don't flare as the arm goes back |
| Knees over hips | Look at your thighs | They point straight up |
| Slow reach | Count out loud | 3 seconds out, 2 back |
Do one practice set of 4 per side with this list, then start your working sets. Filming one set from the side on your phone also shows an arch you can't feel.
Common mistakes
Most mistakes come from reaching too far or too fast. Check this list on your first two sets.
| Mistake | What it looks like | Fix |
|---|---|---|
| Arched lower back | A gap opens under your back as the leg goes down | Reach shorter, stop above the gap |
| Rushing | Arms and legs swing, about 1 second per rep | 3 seconds out, pause, 2 seconds back |
| Not exhaling | Face goes red mid-set | Exhale slowly on every reach |
| Same-side limbs | Right arm and right leg move together | Opposite arm, opposite leg |
| Lifted head | Chin pokes up, neck tenses | Head rests on the floor, chin slightly tucked |
| Knees drifting toward the chest | Resting leg pulls in to help | Keep the resting knee right over the hip |
Progressions and regressions
The 2001 study found ab and oblique activity rose step by step as the dead bug got harder, but no muscle passed 41% of its maximum. So the dead bug teaches control, and you keep it useful by moving up a level.
| Level | Version | Sets × reps | Move up when |
|---|---|---|---|
| 1 | Heel taps: arms up, lower one bent leg to tap the heel | 2 × 8 each side | Back stays flat on every rep |
| 2 | Leg-only dead bug: arms up, straighten one leg | 3 × 8 each side | 3 × 10 with a flat back |
| 3 | Classic dead bug: opposite arm and leg | 3 × 8 each side | 3 × 10 at a 3-second reach |
| 4 | Dumbbell dead bug: hold one 5–10 lb (2–5 kg) dumbbell over your chest with both hands, legs alternate | 3 × 8 each side | 3 × 10 feels smooth |
| 5 | Hollow hold | 3 × 20–30 s | Then add time, up to 45 s |
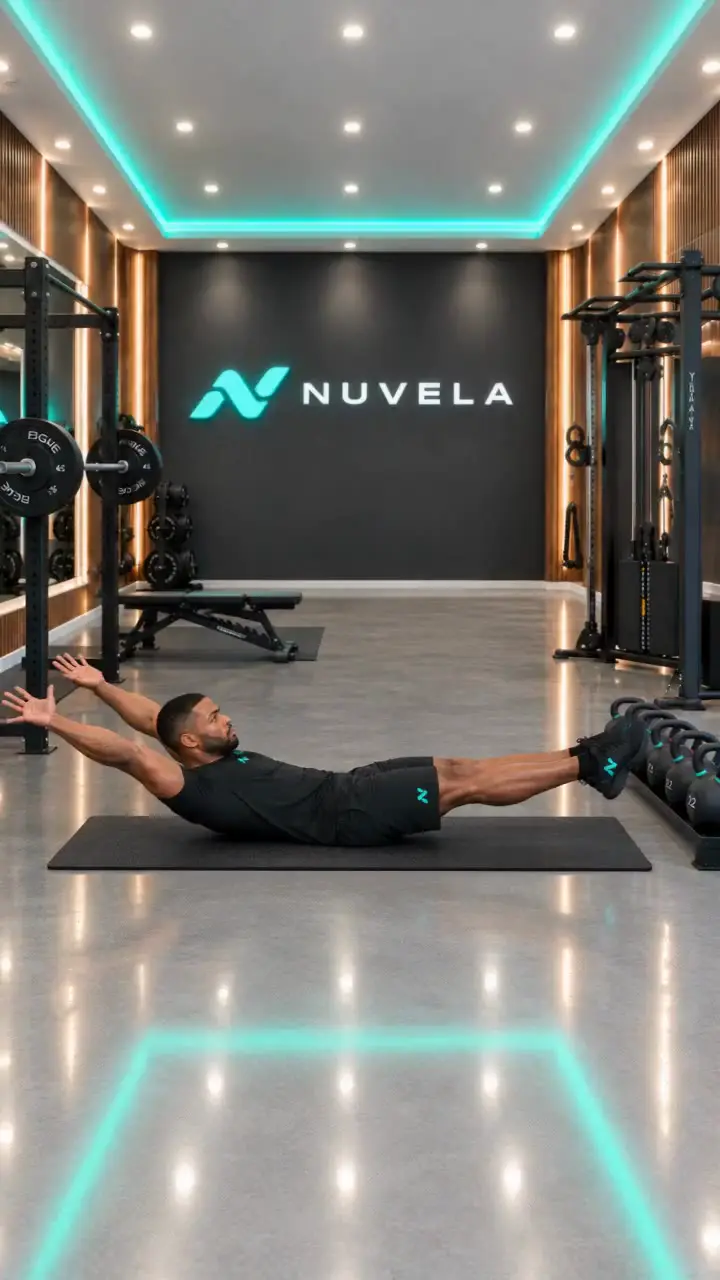
Going down a level is fine. A level 2 rep with a flat back does more than a level 3 rep with an arched one.
A 6-week path from level 1 to level 4
| Weeks | Level | Sets × reps |
|---|---|---|
| 1–2 | 1 or 2 | 2–3 × 8 each side |
| 3–4 | 3 | 3 × 8, then 3 × 10 each side |
| 5 | 3, slower | 3 × 8 each side, 5-second reach |
| 6 | 4 | 3 × 8 each side with 5 lb (2 kg) |
Dead bug variations
Each variation changes one thing: the load, the lever or what your arms do. Use them once level 3 is easy, or to keep the move fresh.
| Variation | How it works | Sets × reps |
|---|---|---|
| Band dead bug | A band anchored behind your head; arms hold it taut overhead while the legs move | 3 × 8 each side |
| Ball dead bug | Squeeze a stability ball between hands and knees; release one arm and the opposite leg | 3 × 8 each side |
| Single-arm dumbbell dead bug | One 5–10 lb (2–5 kg) dumbbell in one hand, that arm reaches back | 3 × 6 each side |
| Kettlebell dead bug | Hold a 10–15 lb (5–7 kg) kettlebell by the horns over your chest, legs alternate | 3 × 8 each side |
| Straight-leg dead bug | Both legs straight up, lower one at a time | 3 × 6 each side |
| Pause dead bug | 3-second hold at the bottom of each reach | 3 × 6 each side |
The ball and band versions give your hands something to press against, which makes it easier to feel the abs brace. The straight-leg version is the hardest lever: start it only once level 4 is smooth.
Dead bug vs plank, bird dog and hollow hold
These four moves all train you to keep your trunk still, in different positions. Most weeks need two of them, not all four.
| Move | Position | Main job | Best for |
|---|---|---|---|
| Dead bug | On your back | Abs and obliques work while limbs move | Warm-ups, learning to brace |
| Bird dog | Hands and knees | Back and hips work while limbs move | Pairing with the dead bug |
| Plank | Forearms and toes | Holding still against gravity | Finishers, anywhere |
| Hollow hold | On your back, arms and legs long | Holding the hardest dead bug shape | Advanced, after level 4 |
A simple pairing: dead bug in the warm-up, plank or side plank as the finisher. For more front-of-trunk work, add a reverse crunch or an ab wheel rollout once you're past level 4.
Three core workouts with the dead bug
Pick by where you train and how much time you have.
6-minute warm-up core (before squats or presses)
| Exercise | Sets × reps |
|---|---|
| Dead bug | 2 × 8 each side |
| Bird dog | 1 × 8 each side |
| Glute bridge | 1 × 12 |
10-minute gym finisher
| Exercise | Sets × reps |
|---|---|
| Dumbbell dead bug, 5–10 lb (2–5 kg) | 3 × 8 each side |
| Pallof press | 2 × 10 each side |
| Suitcase carry, 25–35 lb (11–16 kg) | 2 × 30 s each side |
12-minute home core, no equipment
| Exercise | Sets × reps |
|---|---|
| Dead bug | 3 × 10 each side |
| Side plank | 2 × 30 s each side |
| Bird dog | 2 × 8 each side |
| Hollow hold | 2 × 20 s |
Pick the suitcase carry weight so you can walk tall without leaning; if you lean, go lighter. For a full gym session around these, see the dumbbell workout plan.
Where the dead bug fits in a week
Put it in your warm-up on 2 days and use it as a finisher on 1 day. The ACSM guidelines say to train all major muscle groups at least twice a week, and three short doses get you there with little extra time.
| Day | Session | Dead bug dose |
|---|---|---|
| Mon | Full body | Warm-up: 2 × 8 each side |
| Wed | Full body | Warm-up: 2 × 8 each side |
| Fri | Full body | Finisher: the full 3-move block |
New to lifting? Slot this into a beginner workout plan and keep the dead bug in the warm-up. It sits well after the stretches before a workout and before your first set, for example a goblet squat. For a full week with strength days, see the workout routine guide, and for a three-day layout, the 3 day workout split.
The dead bug also pairs well with hip flexor stretches on rest days: stretch first, then 2 × 8 dead bugs to use the hips with a flat lower back.
Who the dead bug is for
Almost anyone who lifts can use it; only the level changes.
| You are | Level to start | Where to use it |
|---|---|---|
| New to training | 1 or 2 | Every warm-up, 3 days a week |
| Lifting for a few months | 3 | Warm-up 2 days, finisher 1 day |
| Experienced lifter | 4 or 5 | Warm-up before heavy squats and presses |
| Training at home or in a hotel | 3, or band version | With the 12-minute home core |
Good
- Needs only a mat and works at home, in the gym or in a hotel gym
- Easy to see your own form: the floor tells you when your back lifts
Keep in mind
- Light on its own: it teaches control more than it builds strength
- Needs floor space, which a busy gym doesn't always have
How Nuvela fits core work into your week
Nuvela builds your week from a few questions: goal, experience, where you train, and your days and minutes. Core moves like the dead bug go into your plan for gym, home, no equipment, or on the road.
- Swap any move, for example dead bug to bird dog.
- A video for every move in your plan.
- Strength, cardio and yoga in one weekly plan, and you choose the mix.
Want to see it? Open the workout planner and build your week in a few minutes.
More questions about the dead bug exercise
Is the dead bug good for beginners?
Yes, it's one of the easiest core moves to learn. Start at level 1 or 2 and stay there until 3 × 10 per side keeps your back flat.
Can I do dead bugs every day?
You can, at a low dose. Two sets of 8 per side in a daily warm-up is fine. Keep the harder levels to 2 or 3 days a week.
Common questions
What is the dead bug exercise good for?
It teaches you to keep your trunk still while your arms and legs move. In the 2001 study it mostly worked the rectus abdominis and obliques, which is why it works well in a warm-up before squats and presses.
How many dead bugs should I do?
3 sets of 8 reps per side, 2 to 3 days a week. When 3 × 12 per side is easy with a flat back, move up a level instead of doing more reps.
Is the dead bug better than a plank?
Neither is better; they do different jobs. The dead bug trains control while your limbs move. The plank trains holding still. Use one in the warm-up and one as a finisher.
Should my back be flat during a dead bug?
Yes, your lower back stays gently pressed into the floor the whole set. If it lifts, shorten the reach or go down one level.
Why is the dead bug so hard?
Usually because the reach is too long or too fast. A straight leg near the floor is a long lever. Bend the moving knee, stop higher, and slow down; it gets easier within a few sessions.
Sources
- Electromyographic activity of selected trunk muscles during dynamic spine stabilization exercises, Souza et al. (2001). 12 healthy adults: in the dead bug (\"dying bug\"), rectus abdominis and obliques were equally active and rose with each harder level; the quadruped (bird dog) leaned more on back and hip extensors. No muscle passed 41% of maximum, too low on its own to build strength.
- American College of Sports Medicine, Resistance Training Guidelines Update (2026). Train all major muscle groups at least twice a week; about 10 sets per muscle group a week for muscle growth; training to failure did not consistently change results.
Related guides
Exercises in this guide
- Dead bug
- Bird dog
- Side plank
- Pallof press
- Plank
- Heel taps
- Suitcase carry
- Hollow hold
- Reverse crunch
- Ab wheel rollout
- Glute bridge
- Goblet squat
Try 7 days, no card needed
